Using Brightly Assetic Bulk Export in Power BI
Introduction
Brightly Assetic provides a Bulk Export option for saved Search Profiles for Advanced Searches.
The data returned by the search is saved as a csv file in Assetic for download. The csv file may be accessed via the Brightly Assetic UI in the ‘Exports’ page of the Search Profile.
The Brightly Assetic REST API’s can also be used to download the file. Power BI can utilise this capability to use the Assetic REST API as a data source for a report.
It is expected that the Bulk Export has been performed, which is either manually initiated in the Assetic UI when viewing the Search Profile, or automatically initiated via the Assetic REST API’s.
The Power BI report is configured to download the most recent Bulk Export for a given Search Profile, thus refreshing the Power BI data in an efficient manner.
Power BI is not used to initiate the Bulk Export.
This article assumes an understanding of Power BI and creating queries. The Assetic Knowledge Base article OData - Excel and Power BI provides additional details for Power BI novices.
Brightly Assetic REST API’s
The Bulk Export CSV export file is accessible via the Assetic Document REST API /api/v2/document/{id}/file, where {id} is the unique ID of the generated Export file. This ID is unknown to Power BI, and changes each time a Bulk Export is performed, so the first step is to obtain the most recent Bulk Export File Id for the given Search Profile name. This is achieved via the Assetic REST API /api/v2/document.
The following example gets the most recent document for the search profile ‘sync_Anchors’. It sorts by CreatedDate descending and gets the first record only. It ensures the document is an export document based on Document Category Id & Document SubCategory Id, which are always 6 and 2 respectively. Change XXX.assetic.net to your Assetic site URI.
https://XXX.assetic.net/api/v2/document?requestParams.sorts=CreatedDate-desc&
requestParams.filters=Label~eq~'sync_Anchors'~and~DocumentSubCategory~eq~2
~and~DocumentCategory~eq~6&requestParams.page=1&
requestParams.pageSize=1
Once that ID has been obtained the file can be accessed by Power BI.
Power BI
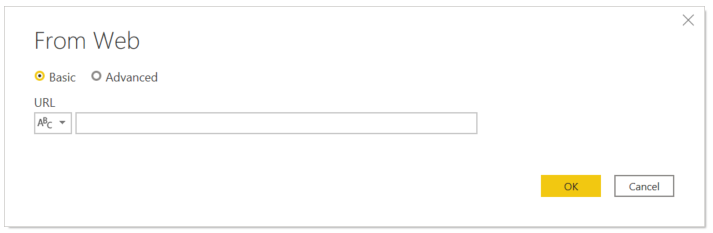
Power BI has a ‘Data Source’ type of ‘From Web’ which can be used to access the Assetic REST APIs.
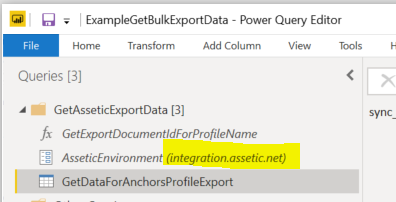
For report flexibility, the Assetic Environment can be changed and set as a parameter as per the sample parameter ‘AsseticEnvironment’ in the sample provided Power BI file.
The URL can be entered to create a new query. Authentication is the same process as for the Assetic OData endpoint (refer to the Assetic Knowledge Base article OData - Excel and Power BI ).
Search Profile Name
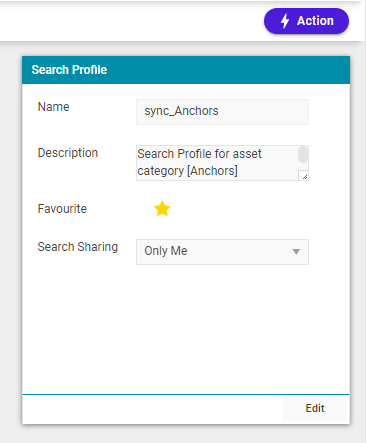
The name of the Search Profile in Brightly Assetic is available in the Search Profile dashboard. In the following screenshot, the name is ‘sync_Anchors’.
Power BI sample
Download

Open the sample Power BI report template and then open the Power Query Editor.
Queries
The sample Power BI file has 2 queries:
-
GetExportDocumentIdForProfileName accepts the name of the Search Profile and returns the document ID to download.
-
This function should not require modification.
-
-
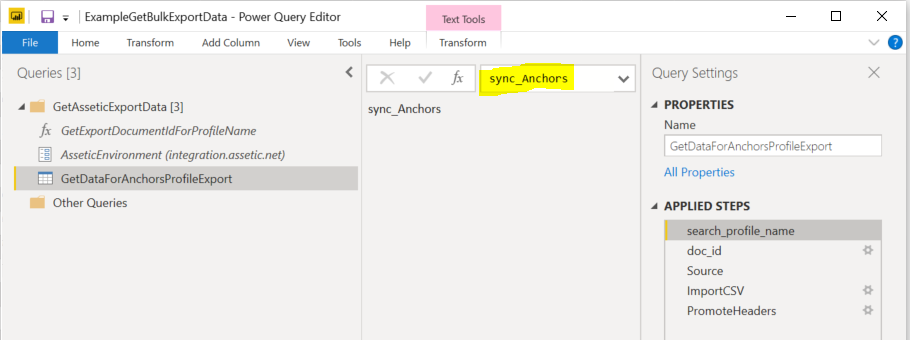
GetDataForAnchorsProfileExport uses the function ‘GetExportDocumentIdForProfileName’ to get the data for a Search Profile called ‘sync_Anchors.’
-
Edit this query to use your Search Profile name (as per the following screenshot).
-
Duplicate and edit this query for additional Search Profile exports.
-
Parameters
The parameter ‘AsseticEnvironment’ defines which Assetic environment to connect to. Use this to swap from the environment provided in the sample to your environment, and to swap between Sandbox and Production environments.
The sample Power BI file is a report template and will prompt for the Assetic Environment when opened. Enter your environment e.g. XXX.assetic.net
![]()
The following screenshot shows where this parameter can be accessed.